 Save
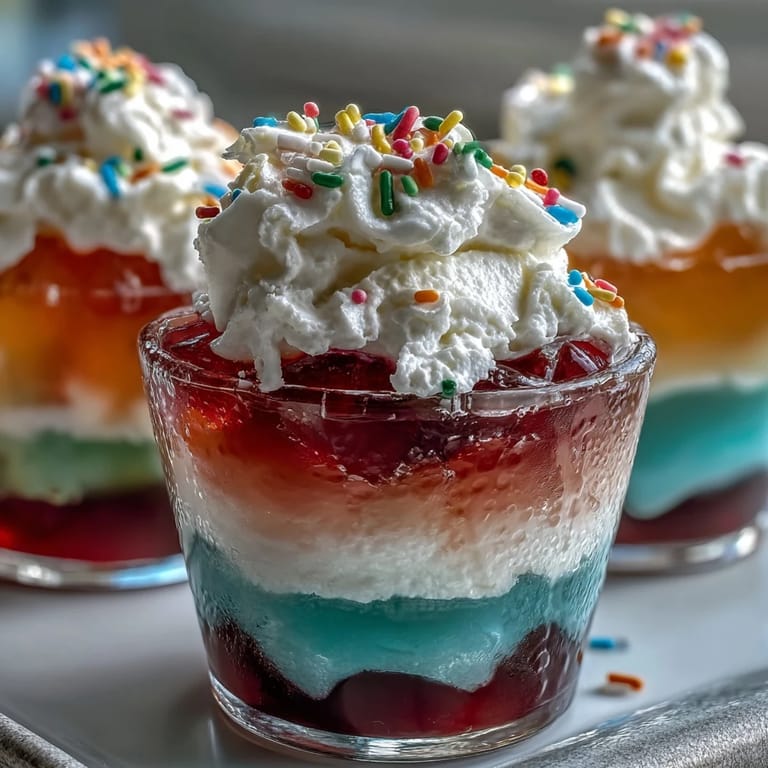
Save The first time the rainbow Jello cups came together in my kitchen, I remember the sound: giggles echoing as we layered bright colors into glass cups on a rainy Saturday afternoon, the kind that calls for playful desserts. The counter became a kaleidoscope of fruity powders and the sharp sweet smell of boiling Jello wafted around the room. Waiting for each layer to set felt like some secret magic unfolding—my youngest kept poking her finger at the cup, utterly fascinated by the wobble. It was less about strict measurements and more about enjoying the process, each layer a tiny celebration. Funny enough, the anticipation of chilled treats was nearly as satisfying as the actual dessert.
When we served these rainbow Jello cups at my nephew's birthday, every face at the table broke into a smile. Even the grown-ups vied for one, joking about who got the tallest layers and whose cup had the best sprinkle design. It was a noisy, joyful moment—a rare instance where dessert was actually a group activity, not just the sweet finish. There were messy fingers and whipped cream moustaches, but not a single cup was left behind. In retrospect, it was the simplest dessert that brought the biggest energy to the party.
Ingredients
- Strawberry (red) Jello: A cheerful start to the rainbow, and the sweet scent makes the kitchen feel festive. For bold flavor, dissolve completely before adding cold water.
- Orange Jello: Brings a citrusy zing that stands out. Be sure to give this layer time to chill so colors stay crisp.
- Lemon (yellow) Jello: Offers brightness and balances the sweetness. Use fresh boiling water to get a perfectly clear yellow.
- Lime (green) Jello: Adds a tangy note and lively color. Stir slowly to avoid bubbles that can mar the layer.
- Berry blue Jello: The blue is always a favorite for kids and creates fun contrast. Careful pouring ensures clean lines.
- Grape (purple) Jello: Makes a rich base and deepens the rainbow effect. Let it set fully so all layers stack neatly.
- Boiling water: Essential for dissolving Jello crystals. Use freshly boiled water for speed and consistency.
- Cold water: Keeps the mixture cool and helps set each layer. Measure exactly so layers gel properly.
- Whipped cream or topping: Fluffy clouds on top bring extra delight. For allergy needs, swap for coconut or other dairy-free options.
- Rainbow sprinkles (optional): Tiny pops of color make the cups party-ready. Add just before serving so they don’t dissolve.
Tired of Takeout? 🥡
Get 10 meals you can make faster than delivery arrives. Seriously.
One email. No spam. Unsubscribe anytime.
Instructions
- Begin With the Purple Layer:
- Pour 1 box of grape Jello into a mixing bowl with 1 cup of boiling water, stirring until dissolved. Add 1 cup cold water, stirring gently, then divide a thin layer between all cups—watch the deep color settle—chill for 30-40 minutes.
- Add the Blue Layer:
- Mix berry blue Jello with boiling water, dissolve, then add cold water. Carefully spoon a thin layer atop set purple, feeling for firmness—chill until set.
- Layer the Green Jello:
- Repeat the process with lime Jello, enjoying its tangy aroma as you pour. Layer gently so colors stay separate—chill again.
- Yellow Layer Time:
- Dissolve lemon Jello, add cold water, then pour atop the green once fully set. Peek through the cups to admire the emerging rainbow, then chill.
- Orange Makes it Bright:
- Soak orange Jello in boiling water, stir, and finish with cold water. Create the next vivid layer, then refrigerate till firm.
- Final Red Layer:
- Prepare strawberry Jello, add cold water, and gently pour on the orange layer—don’t rush, the red is your last touch. Chill the cups once more, letting anticipation build.
- Dress It Up:
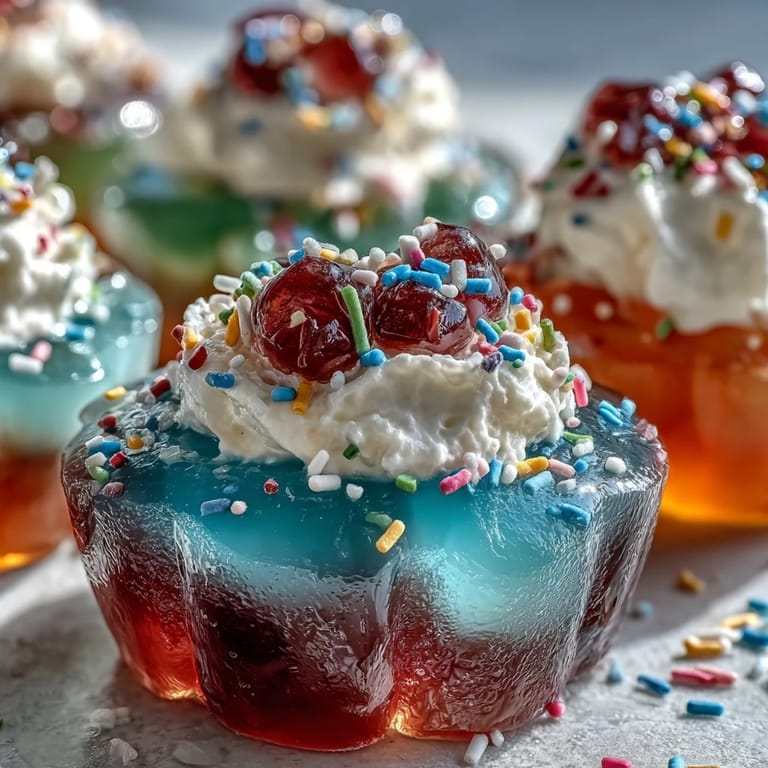
- Once all Jello layers are set, swirl on whipped cream and toss rainbow sprinkles over each cup. Serve chilled and watch smiles bloom around the table.
 Save
Save One evening, the sparkle of these cups transformed a simple family dinner into something special—my partner ended up eating two in one sitting, confessing it had nothing to do with nostalgia and everything to do with pure fun. We laughed about how sometimes even the most grown-up guests are secretly hoping for dessert that's playful and bright.
Making It Your Own
Customize the color order or swap flavors—kids love picking out their favorites, and choosing sugar-free versions lets everyone join in. I sometimes use passionfruit or cherry for surprise twists, and no one ever complains about the extra creativity.
Troubleshooting Layer Perfection
If your rainbow turns muddled, it's likely from pouring too soon or jostling the cups. Wait for each layer to set fully; you can gently tap to test firmness, and covering with plastic wrap prevents fridge odors from sneaking in. A steady hand and patience will reward you with crisp, photo-perfect stripes.
Serving and Storage Tips
These cups are best eaten cold, which makes them ideal for a summer party or after-school treat—just keep them chilled until serving. You can assemble them the night before for effortless party prep, and add toppings only right before bringing out the desserts for maximum freshness.
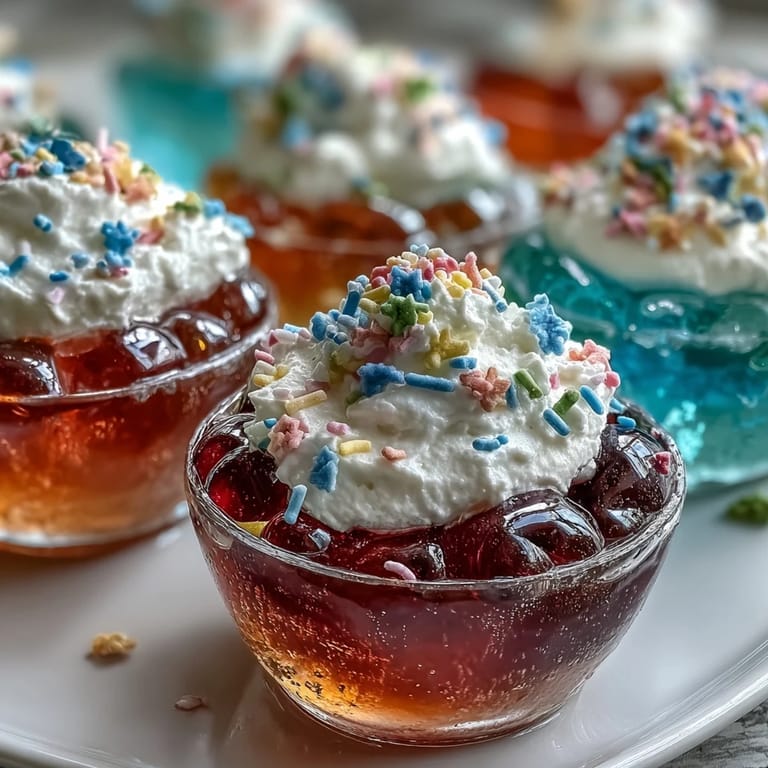
- Use clear cups for the most dramatic effect.
- If making ahead, keep whipped cream separate till just before serving.
- Sprinkles melt quickly, so decorate at the last moment.
 Save
Save I hope these rainbow Jello cups bring as much brightness and laughter to your kitchen as they have to ours—even a quiet day feels like a celebration with them. Happy layering, and may your colors stack perfectly every time!
Recipe FAQs
- → How do I achieve even layered colors?
Allow each Jello layer to fully set (30–40 minutes) before adding the next. Carefully pour to avoid mixing colors.
- → Can I substitute dairy-free whipped topping?
Yes, coconut whipped cream or any plant-based topping works well for those avoiding dairy.
- → How long do the Jello cups take to chill?
Each layer requires about 30–40 minutes to set, totaling around 4 hours including all chilling steps.
- → Are sugar-free options available?
Absolutely! Use sugar-free Jello for a lighter version, and adjust toppings to suit preferences.
- → Can I use different flavors or colors?
Feel free to mix and match flavors and colors to create your own unique and festive combinations.
- → What tools are needed?
You will need clear cups, mixing bowls, a whisk or spoon, measuring cups, and a refrigerator.